How I Created a Stunning Sofa – 3D Image: Step-by-Step Workflow Using Maya, Substance & More
Creating a sofa – 3D image isn’t just about software—it’s a balance of creativity, technical skill, and attention to detail. Whether you’re a designer, product visualizer, or 3D artist, this guide will walk you through the entire process I followed to create a realistic and visually striking 3D sofa render using Maya, Substance, Gogobs, and Materialize.
If you’re looking to understand or replicate a professional-level sofa render, this breakdown is for you.
Step 1: Concept and Reference Collection
Before even opening a 3D software, I started by gathering inspiration. I browsed Pinterest, IKEA, and Behance for various sofa designs—modern, minimalist, and vintage. Reference collection is vital because it helps guide your proportions, material selection, and design direction.
By narrowing down my visual direction, I could ensure my sofa – 3D image had a clear aesthetic from the start.
Step 2: Modeling in Autodesk Maya
Once I finalized the reference board, I opened Autodesk Maya and began blocking out the basic shape of the sofa using simple primitives.
I focused on:
-
Proper edge flow for smooth subdivisions
-
Creating separate geometry for cushions, frame, and legs
-
Sculpting light imperfections for realism
Each component—armrest, seat cushion, and frame—was modeled individually to maintain control over detailing. I also added bevels on edges to catch highlights, which are important for photorealism in the final render.
This stage laid the foundation for a clean, professional sofa – 3D image.
Step 3: UV Unwrapping and Texturing with Substance Painter
After modeling, I unwrapped the UVs cleanly and imported the mesh into Substance 3D Painter.
Here’s how I textured the model:
-
Applied a high-resolution fabric material with appropriate roughness and normal maps
-
Added stitching details around seams using alpha brushes
-
Used smart masks to simulate light dust and aging on corners
-
Exported textures in 4K for the final output
Substance allows deep material layering, which added subtle imperfections, making the sofa – 3D image feel natural and tactile.
Step 4: Lighting Setup in Gogobs
Lighting brings the model to life. I imported the textured mesh into Gogobs, a real-time rendering and lighting tool, to set up the scene.
I used a three-point lighting setup:
-
A soft key light to create depth
-
A fill light for even exposure
-
A rim light to separate the model from the background
I also used a neutral HDRI environment for global illumination. This added natural light bounce and realistic fabric reflections that are critical for any product-focused sofa – 3D image.
Step 5: Texture Map Enhancement Using Materialize
To push the realism further, I turned to Materialize—a free tool that converts 2D textures into full PBR maps.
I used it to:
-
Generate refined bump and height maps
-
Enhance AO (ambient occlusion) for more depth
-
Sharpen roughness maps based on light reflection tests
This helped balance the texture details for close-up views and ensured the materials responded well under studio lighting conditions.
Step 6: Final Rendering and Post-Processing
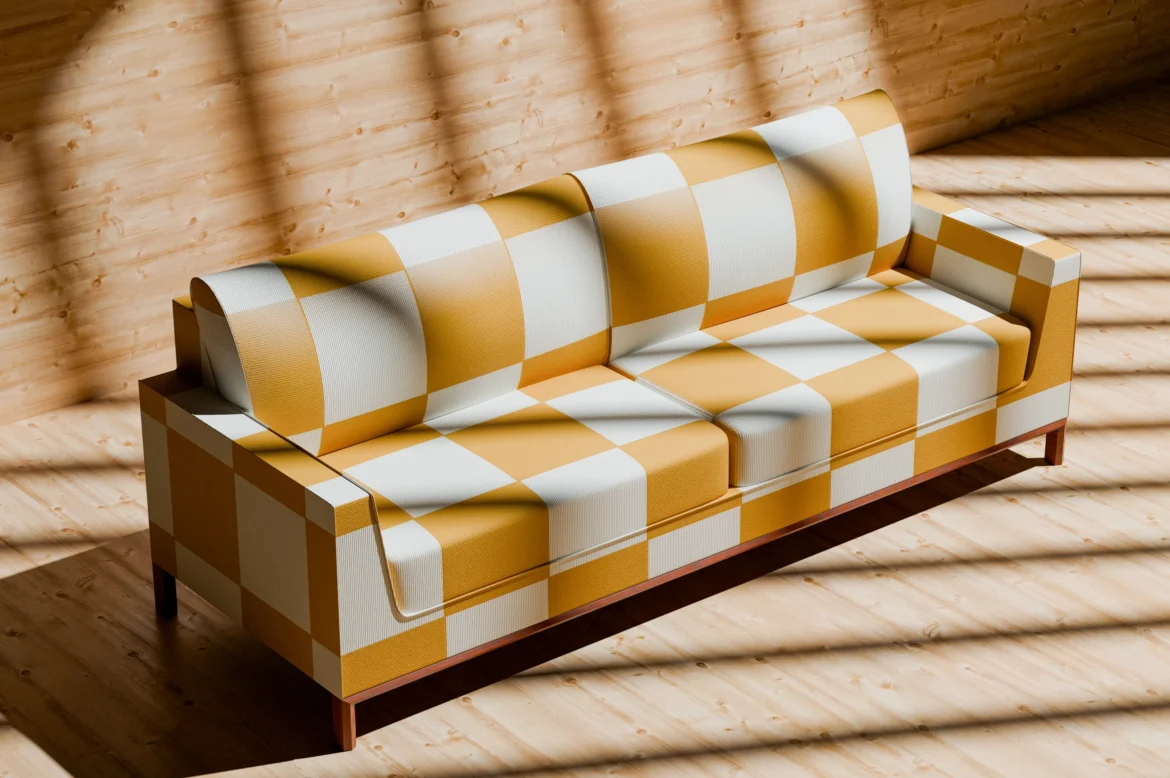
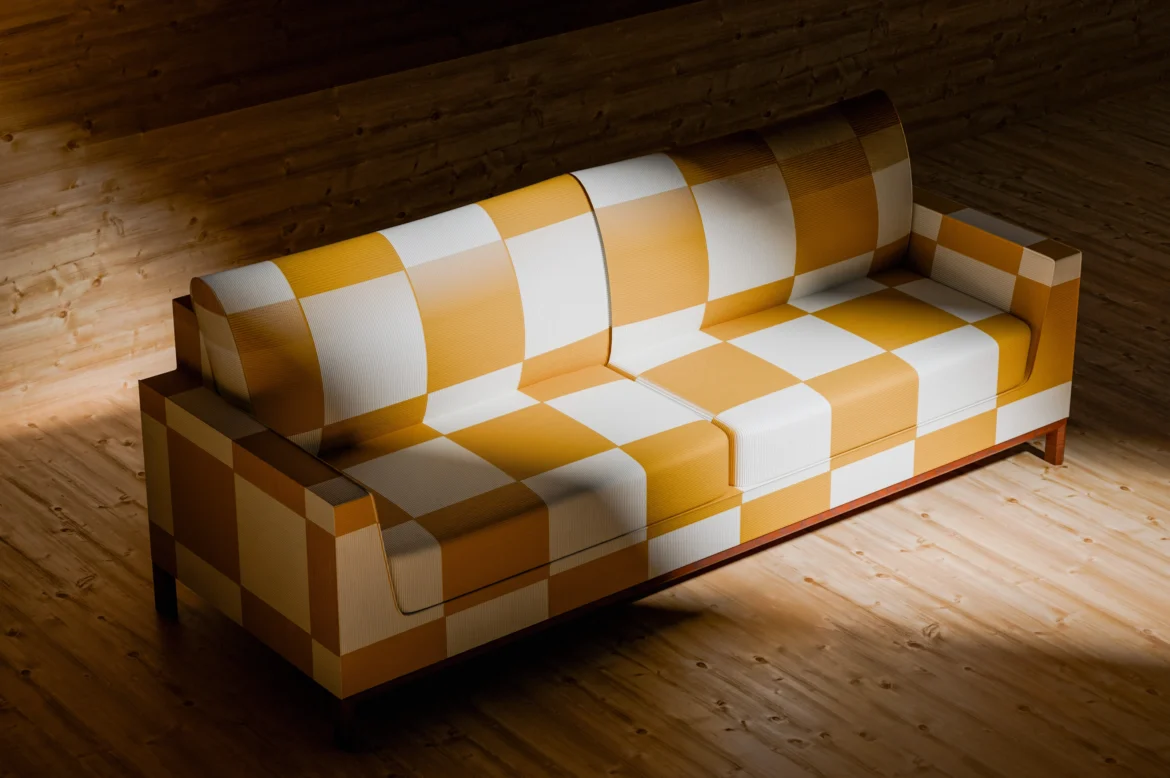
With everything set, I rendered the final sofa – 3D image at high resolution. Render passes were used to isolate shadow, lighting, and ambient effects.
In Photoshop, I did basic post-processing:
-
Color correction for warmth and realism
-
Added a subtle vignette to draw the viewer’s attention
-
Applied a touch of noise to break digital smoothness
The result? A stunning sofa – 3D image that looks polished and production-ready.
Why This Workflow Works
Each tool played a specific role:
-
Maya gave me precision modeling control
-
Substance Painter allowed detailed material work
-
Gogobs added lighting that emphasized texture depth
-
Materialize fine-tuned the realism
Together, they created a seamless pipeline to produce a highly convincing sofa – 3D image perfect for portfolio pieces, eCommerce previews, or interior visualization projects.
Final Thoughts
Crafting a sofa – 3D image that resonates visually takes more than technical steps—it requires artistic vision. Every decision, from seam placement to shadow direction, impacts the final feel.
If you’re a 3D artist or a brand looking to showcase products in a photorealistic way, this workflow can help you bridge the gap between concept and execution.
Want Stunning 3D Images for Your Brand?
At VNS Creative Agency, we specialize in creating premium 3D product visuals, animations, and ad campaigns for brands in furniture, tech, fashion, and beyond.
📧 Email us: manager@vnscreatives.in
📱 WhatsApp: +91 885090746
🌐 Website: www.vnscreatives.in
Let your designs stand out in the digital world—one sofa – 3D image at a time.