Introduction
Creating a high-quality controller 3D model and generating realistic controller 3D images requires a perfect balance of creative vision, technical precision, and detailed design. In this comprehensive project breakdown, I’ll walk you through how I developed a futuristic claw controller 3D model from concept to final render. From Blender to Substance Painter, the process showcases each phase in crafting a stunning 3D asset tailored for gaming, simulation, and tech product showcases.
Why I Created the Claw Controller 3D Model
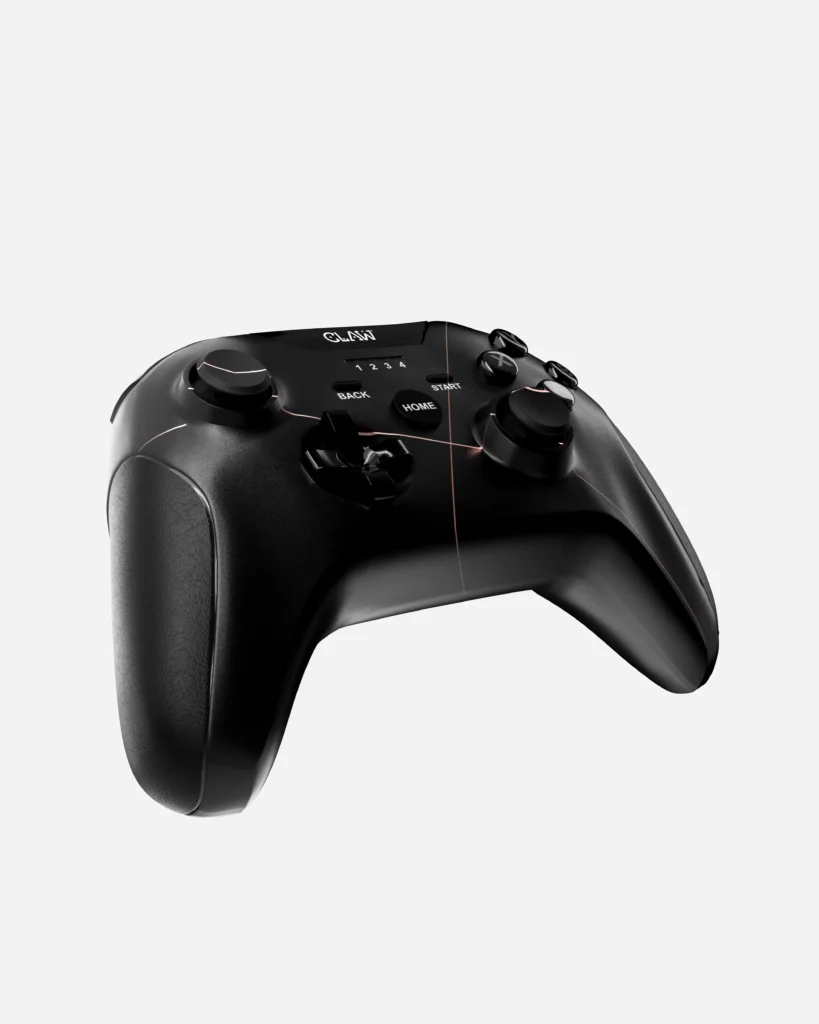
The idea stemmed from the need for a controller that merges ergonomic precision with bold aesthetics. I envisioned a claw-style controller for immersive VR or simulation setups. Creating a controller 3D model from scratch let me explore high-tech surfaces, sharp lines, and functional grip points that would stand out in any high-end setup. The resulting controller 3D images offer a visually captivating glimpse into the final product.
Tools Used to Design the Controller 3D Model
To bring the concept to life, I used:
- Blender for 3D modeling and sculpting
- Substance Painter for texturing with PBR workflows
- Octane Render for photorealistic rendering
- Photoshop for presentation enhancement
🔗 Also, explore my 3D Tools Stack to see more software I use.
Modeling Process of the 3D Controller
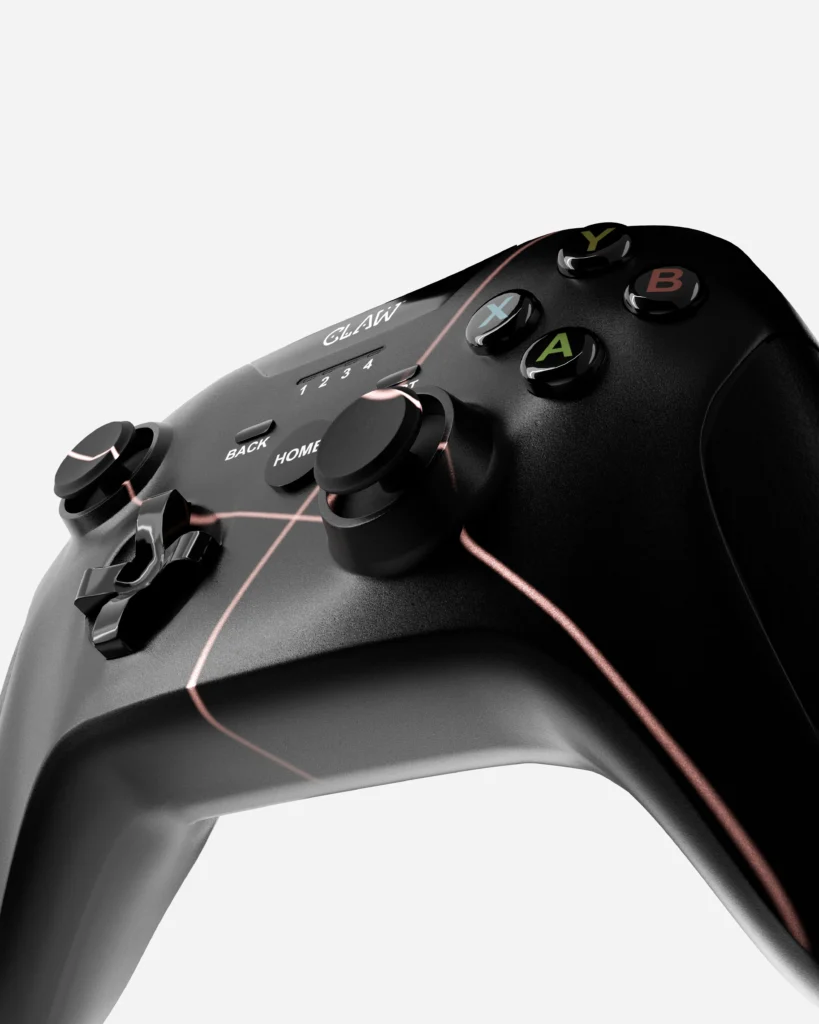
Creating the controller 3D model began with a rough sketch and reference shapes. I modeled the base mesh in Blender, sculpted finger rests, button placements, and functional indentations. After detailing, I performed clean retopology and subdivision to ensure smooth surfaces without compromising on polygon count.
📁 Visit my 3D Modeling Projects to see similar builds. 📘 Learn more about my Workflow for Custom Product Design.
Texturing the 3D Model of the Controller
In Substance Painter, I textured the model with a mix of:
- Brushed metal and soft rubber
- Illuminated interface points
- Carbon fiber overlays for grip zones
These textures made the controller look both realistic and ready for physical prototyping or animation. The final controller 3D images reflect the detailed textures and materials applied to the model.
🖌️ Read how I approach Texturing in 3D Projects.
Rendering and Presenting the Controller 3D Asset
Using Octane Render, I created high-resolution stills with dramatic lighting. A few turntable animations were added to showcase different angles. Macro shots were used to emphasize material realism and tactile elements. These renders resulted in premium-quality controller 3D images suitable for portfolios and presentations.
🎬 Check out my Product Animation Reel for more motion renders. 🧠 Curious about rendering styles? Visit My Guide to Photorealistic Rendering.
Final Thoughts on Building a Controller 3D Model
This project was not just a modeling exercise but a complete design experience. Building the claw controller 3D model involved every stage from ideation to post-production rendering. Whether for game devs, startups, or product prototyping — this model demonstrates what’s possible with the right creative process. The resulting controller 3D images not only highlight technical skill but also help communicate product vision.
📩 Ready to build your own custom 3D model? Get in Touch or learn more about my 3D Modeling Services. 🛠️ See more in my Design Case Studies.