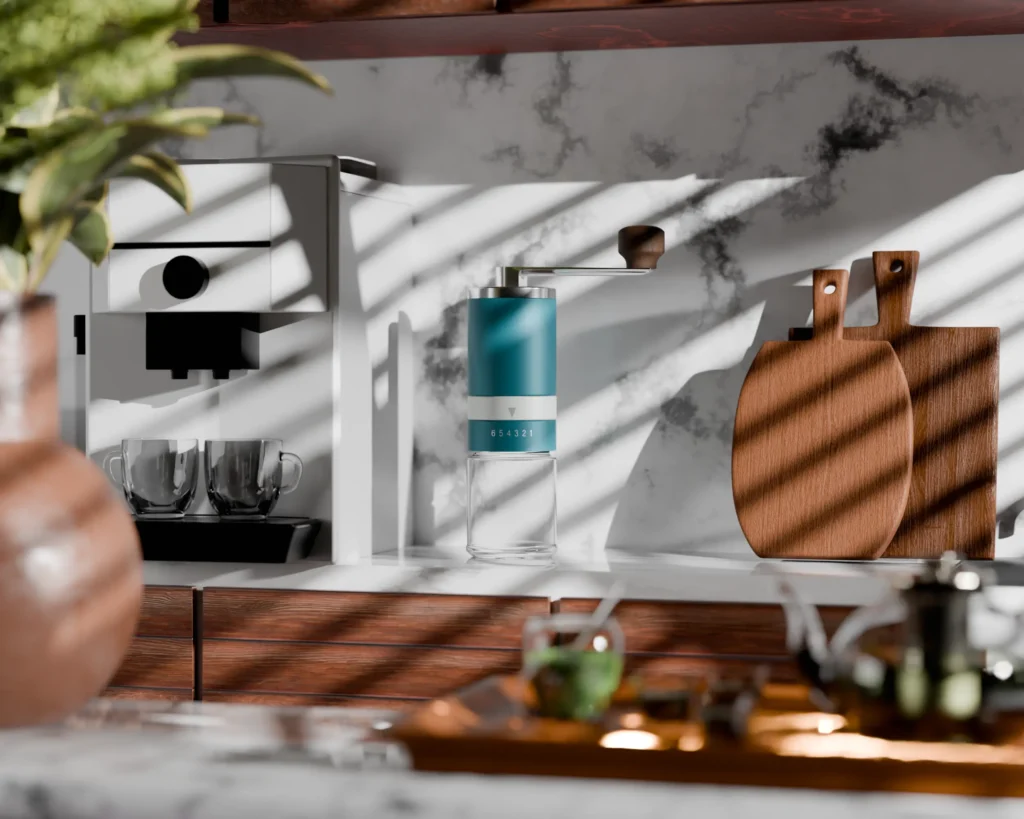
Crafting a Realistic 3D Coffee Maker Model with Blender and Substance
Creating realistic 3D models is a complex but rewarding process, and this project is a prime example of using advanced tools like Blender and Substance to bring a virtual coffee maker to life. Here’s a step-by-step guide through the creative and technical process that went into making this 3D coffee maker model, perfect for anyone looking to enhance their 3D rendering skills and add high-quality content to their portfolio.
Step 1: Conceptualizing the Coffee Maker Design
Every 3D project starts with a clear vision. For this coffee maker, the goal was to blend a sleek, modern look with high-detail realism. Using reference images of popular coffee makers, I planned out the model’s dimensions, shapes, and intricate details, from the drip tray to the control panel. This stage set the foundation for the entire project, ensuring the model would be as lifelike as possible.
Step 2: 3D Modeling in Blender
Blender was the primary tool used to create the 3D structure of the coffee maker. Here’s how it went down:
- Blocking Out Shapes: I began by blocking out basic shapes, focusing on the main body, handle, and water tank.
- Adding Details: With the main shapes in place, I refined the edges, added more intricate components (like the button panel and spout), and ensured every part aligned properly.
- Subdivision Modeling: To capture smooth curves and realistic geometry, I applied subdivision modifiers. This added a layer of refinement, especially around curved surfaces and details that make the coffee maker look sleek and polished.
Step 3: Texturing with Substance Painter
With the model complete, I turned to Substance Painter for texturing to achieve the high level of realism that gives this coffee maker its appeal.
- Base Materials: I started by applying base materials like brushed metal for the body and plastic for smaller parts like the control buttons.
- Adding Wear and Tear: To enhance realism, I added slight wear and tear around high-use areas. This included scratches, subtle smudges, and fingerprints.
- Refining Textures: Using custom brushes and normal maps, I added more depth to each material. For example, the drip tray has a slightly matte finish, while the body has a reflective polish.
Step 4: Lighting and Rendering with Octane
Lighting is essential in any 3D render, and Octane Render allowed me to bring out the textures and details effectively.
- Setting Up Lights: I used a 3-point lighting setup to highlight the coffee maker’s structure, ensuring the reflections and shadows were realistic.
- HDR Environment: For even more realism, I added an HDRI environment that reflects natural lighting, enhancing the material textures.
- Final Render: Using Octane’s high-quality settings, I rendered the coffee maker at a high resolution, capturing every detail and making it perfect for portfolio showcases.
Step 5: Post-Processing for a Final Touch
After rendering, I did some light post-processing to make the image stand out. Adjusting contrast, sharpness, and adding slight color corrections helped the final product look polished and ready for presentation.